GETTING STARTED WITH OUR STAMPS
Make a Perfect Impression
While our stamps can be used in a number of ways, we recommend the following process to ensure a crisp, deep impression in your leather. These steps are also important to keep your stamp in good shape for hundreds of uses to come. Before you begin, you will need some additional supplies:
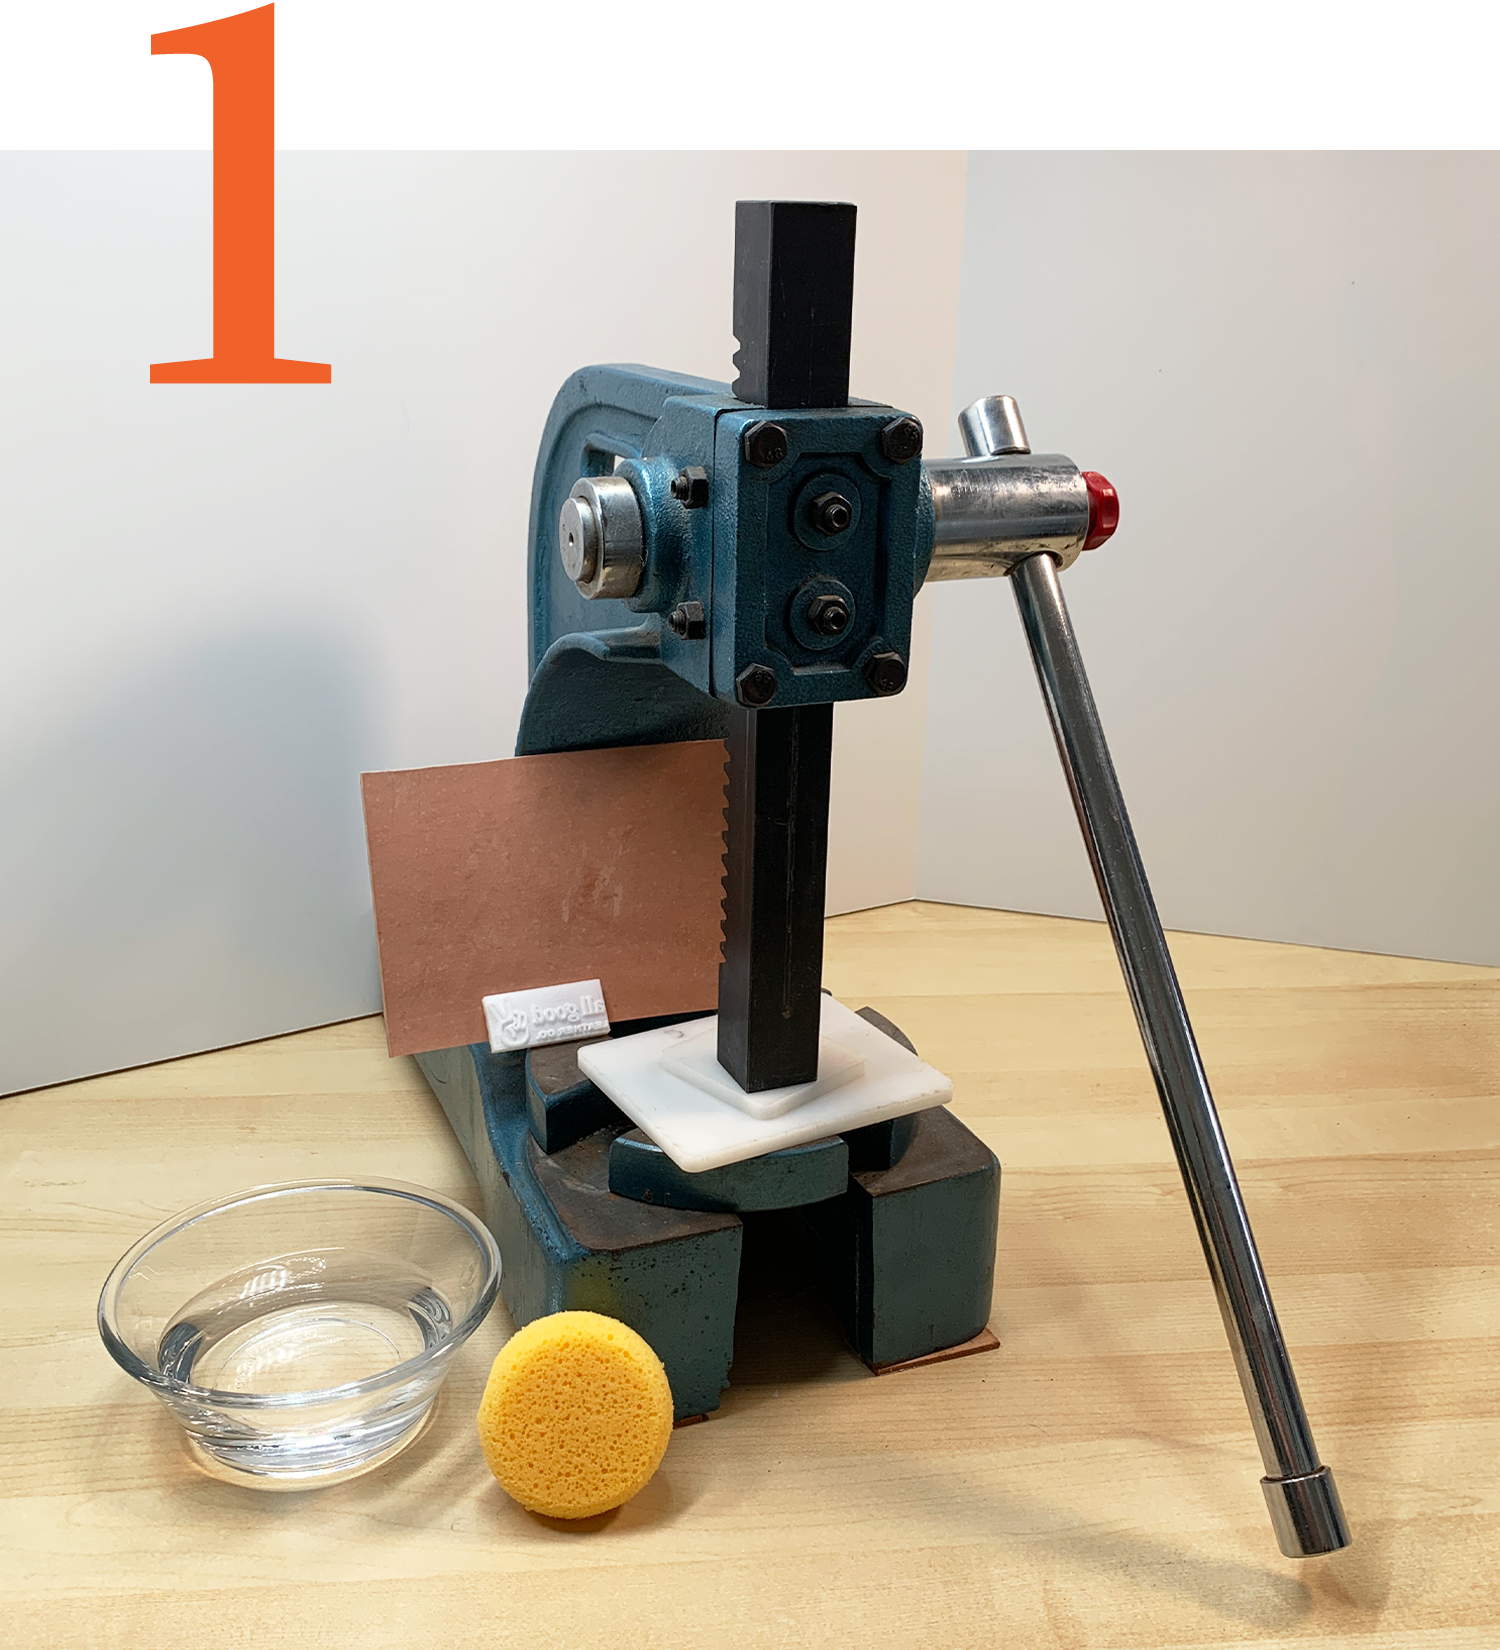
STEP ONE
Gather Supplies
Set out your materials:
Leather
Arbor press
Press plates
Wet sponge
(or spray bottle)
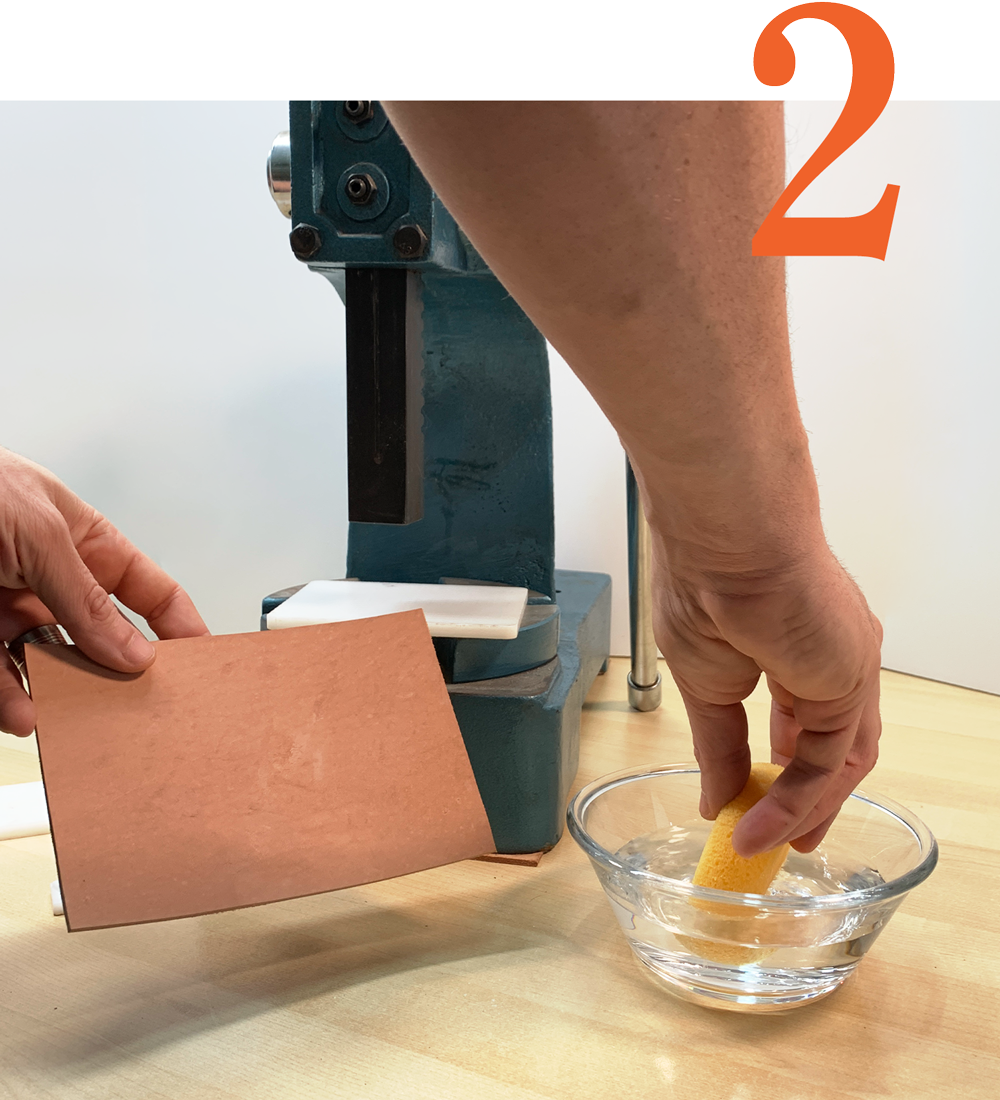
STEP TWO
Moisten Leather
Using a wet sponge or a spray bottle, lightly dampen the surface of your leather.
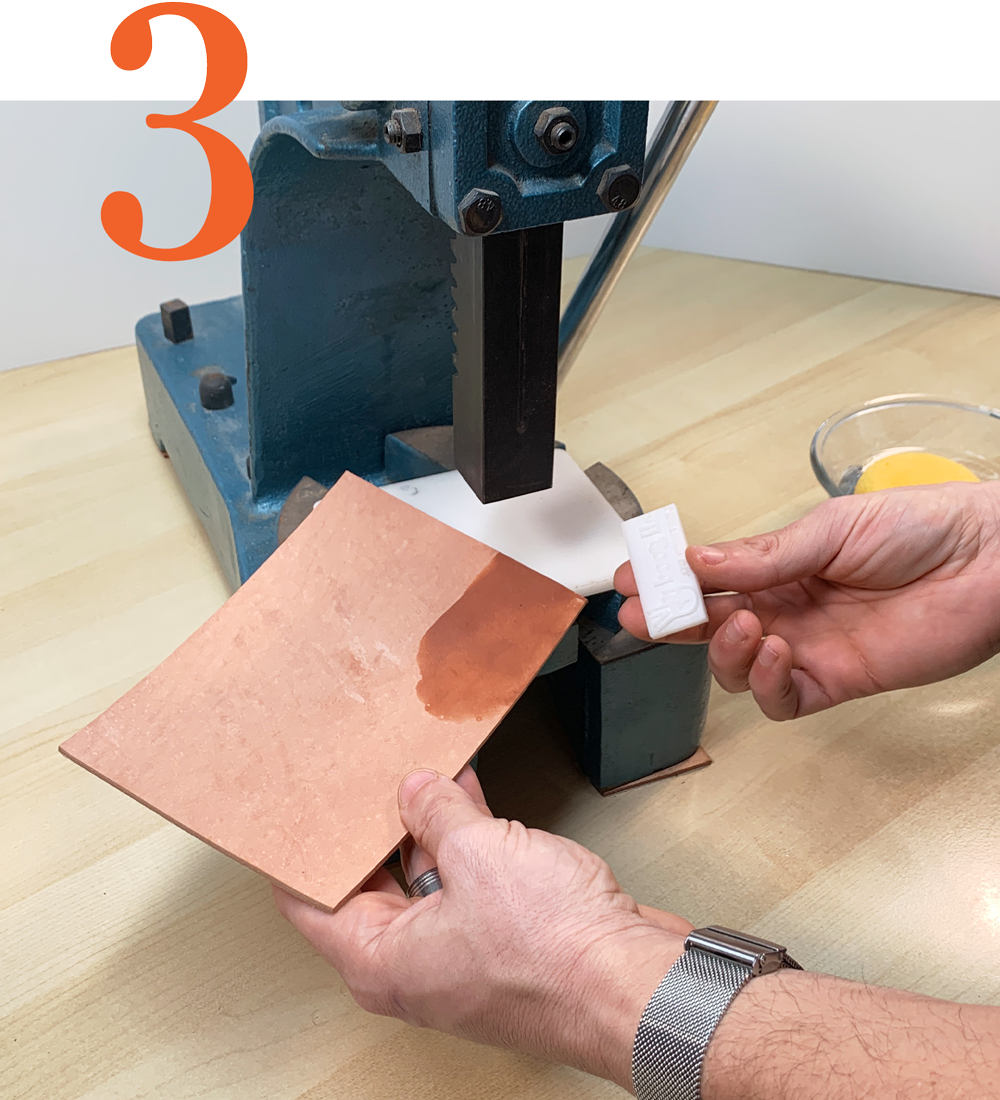
STEP THREE
Place Leather
Put the cutting pad on arbor press, then place your leather on top.
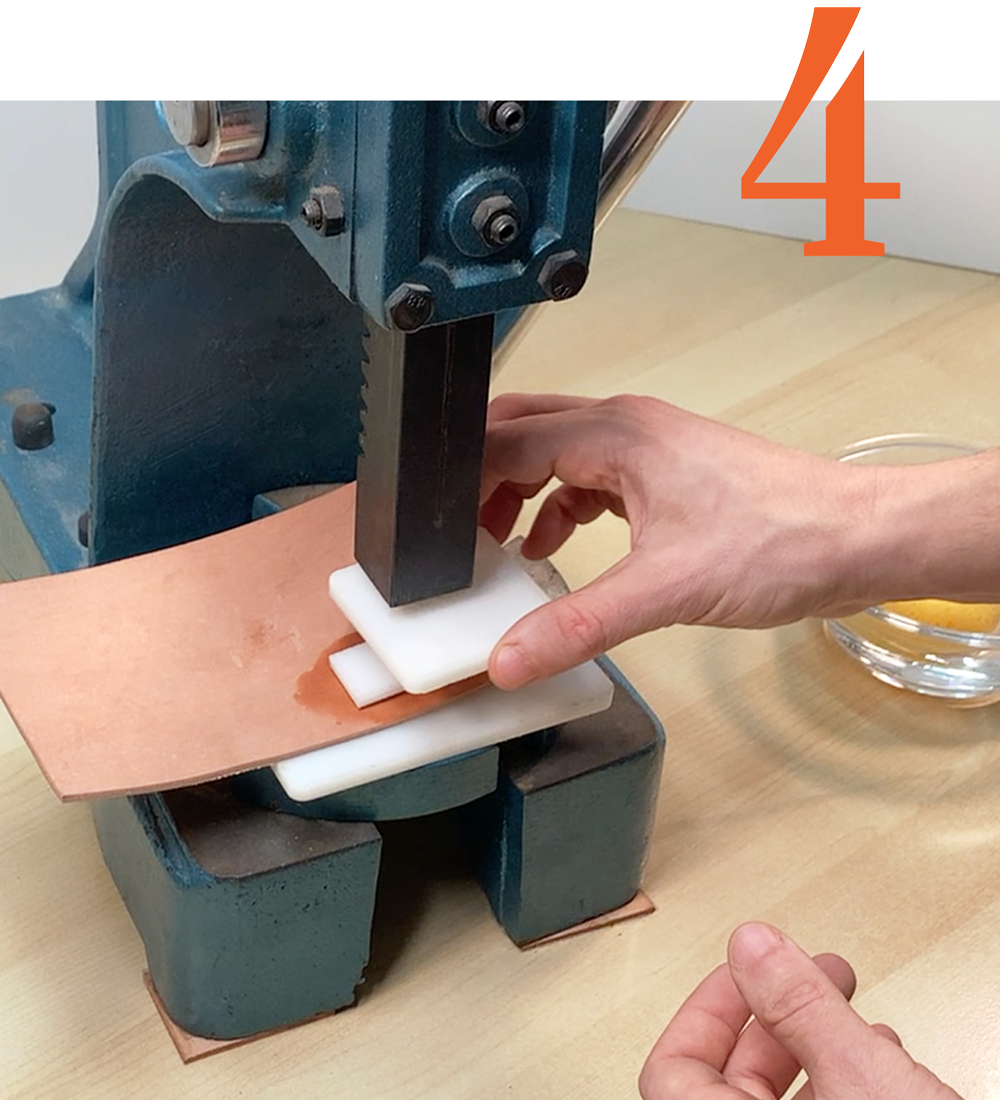
STEP FOUR
Add Top Plate
Place the top plate over the center of the stamp, so that it is also aligned with the press.
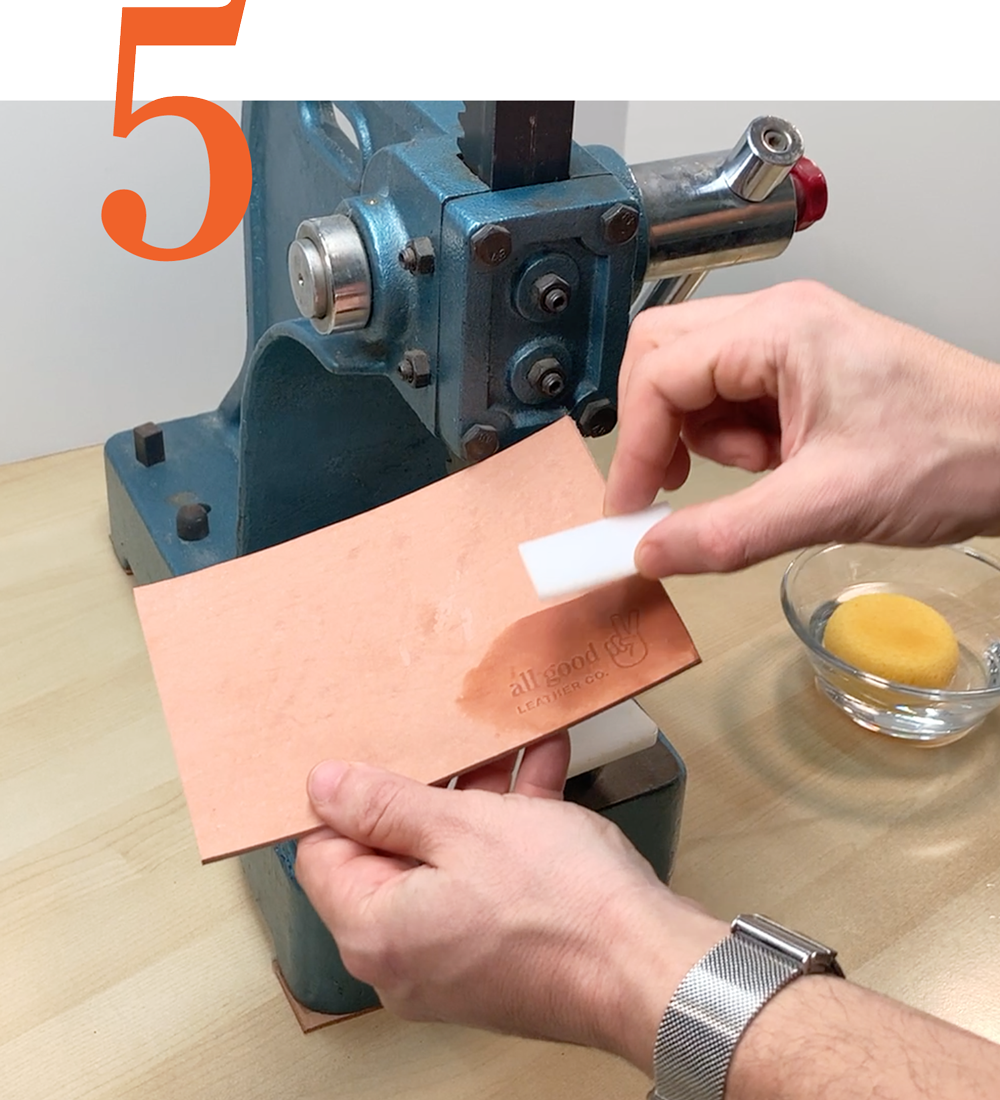
STEP FIVE
Press Leather
Holding the plates in place, press the stamp into the leather firmly for about 5 seconds. Release, and check out your work.
Additional Tips
Pressing
If your leather is kept flat while pressing the stamp, you should not see any corners in your impression.
To make a strong impression, you do not need excessive force. We use a 2-ton press, but a .5-ton press is plenty. Only about 5 seconds of pressure is needed.
If using an arbor press, stamps larger than the a few square inches work best being pressed in sections. Press the stamp in the middle to set it, then carefully move the stamp and leather to a different section and press again. Repeat until all areas have been pressed. This will ensure an even impression across the entire design.
Before using on a finished project, we suggest practicing on scrap leather. Makers on average say it takes them about 5 impressions to feel comfortable. If you see white Delrin reside on your first few impressions, don't worry, it can be gently brushed away once the leather has completely dried.
Other Pressing Methods
If you're just starting out, you can use a clamp and 2 wood blocks. The key is even pressure. After moistening the leather, place the stamp on top, then sandwhich that between 2 blocks of wood. Secure together with clamps to apply even pressure. Let sit for 5-10 seconds.
Acetal stamps will not uphold a hammer or mallet strike to make an impression. Doing so will void your warranty, as it is likley to cause damage to the stamp.
Supplies
We use a 2-ton arbor press in the shop, but anything over .5-ton will work beautifully. Here are some recommended models:
A wet sponge works great, but we love the convenience of a spray bottle with a fine mist. We recommend the following style:
Optional Supplies
For fool-proof placement, we offer corner guides and spacers to align your stamp perfectly.


